
One of the first upgrades I wanted to make to our 2025 Coleman 17B was a real TV. Not a tiny screen, not a tablet bolted to the wall. A 32-inch TV on a swivel mount that works from anywhere in the trailer. Here is how I did it, what I learned the hard way, and what you need to know before you start drilling.
Table of Contents
Watch the Full Install
Full walkthrough of the 32″ TV swivel mount install in the Coleman 17B, including measurements, drilling tips, and the finished result.
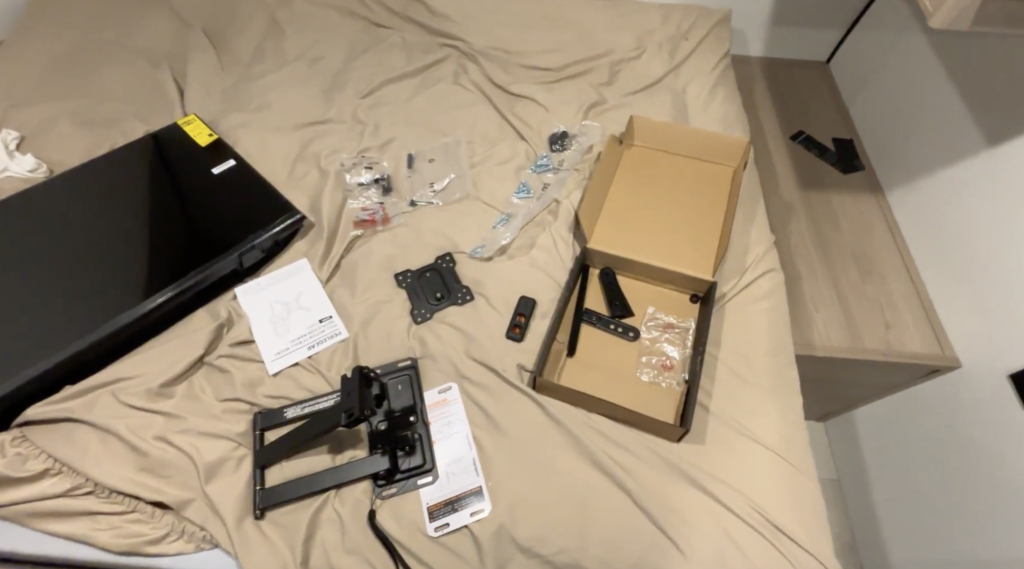
What You Need Before You Start
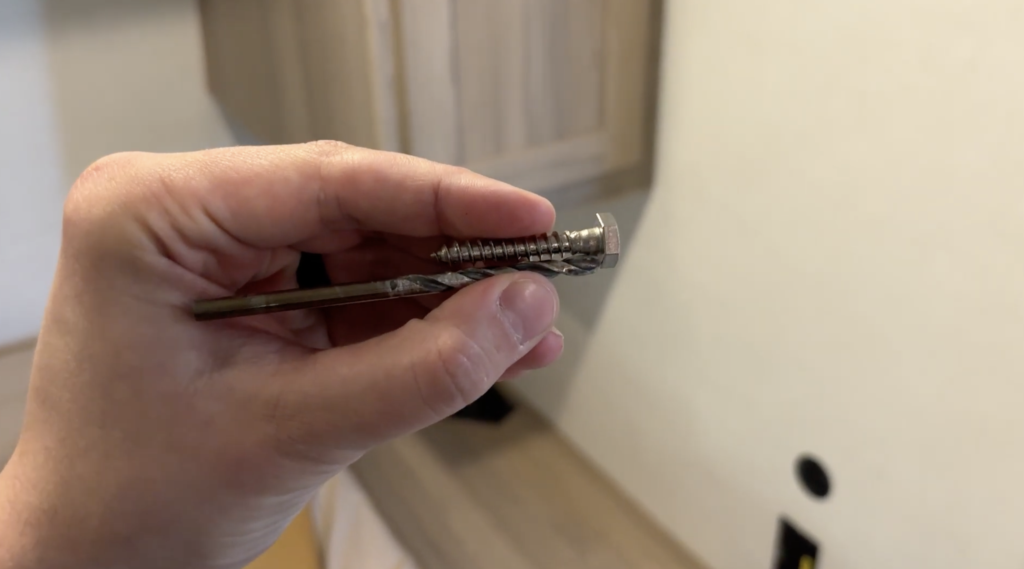
The mount kit will come with most of the hardware you need, but there is one thing to know upfront: the screws that come with it are too long for an RV wall. The wall in the 17B is not thick like a home wall, and using the stock screws is a good way to punch a hole through the back of your brand new camper.
I picked up 1/4 inch by 1.5 inch bolts from Ace Hardware and those worked well. Grab those before you start so you are not making a mid-project run.
You will also need:
- A drill
- Stud finder
- Tape measure
- Level (the swivel mount I used comes with one, which is a nice touch)
- Painter’s tape or masking tape for drill depth marking
- Spacers (depending on your TV, you may need these to mount the bracket to the back of the 32″ TV I went with)
Choosing Your Placement
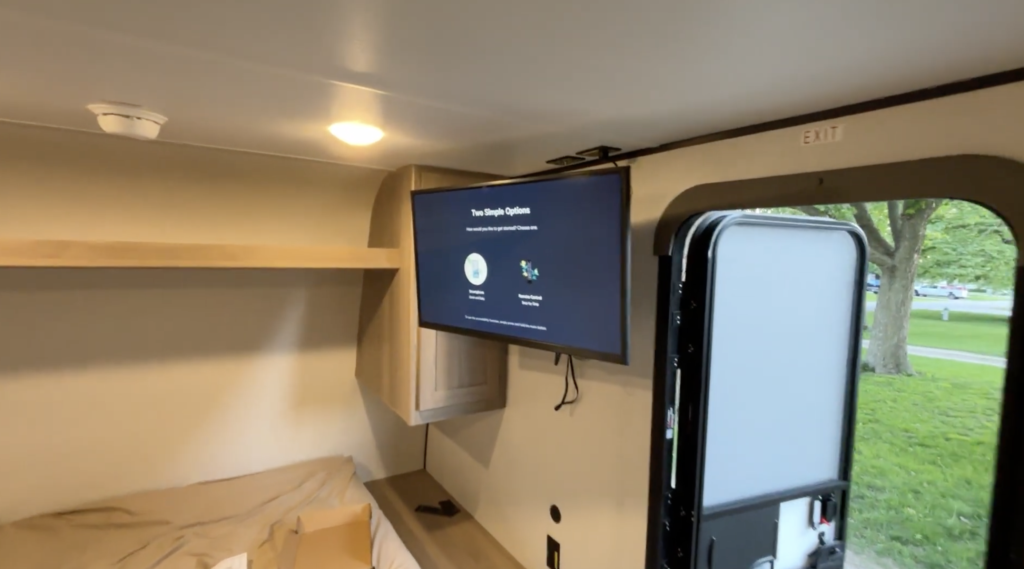
The 17B has a cabinet section near the main living area that works well for a TV mount, but the space is tight if you are going for a 32-inch screen. It fits, but you will likely need to angle or pull out the mount when opening the cabinet door. That is a tradeoff we are fine with.
Before marking anything, hold your mount up to the wall and think through the viewing angles. With a swivel mount, you want to land in a position that works when the TV is both pulled out and pushed back in. Getting this right before drilling saves a lot of trouble.
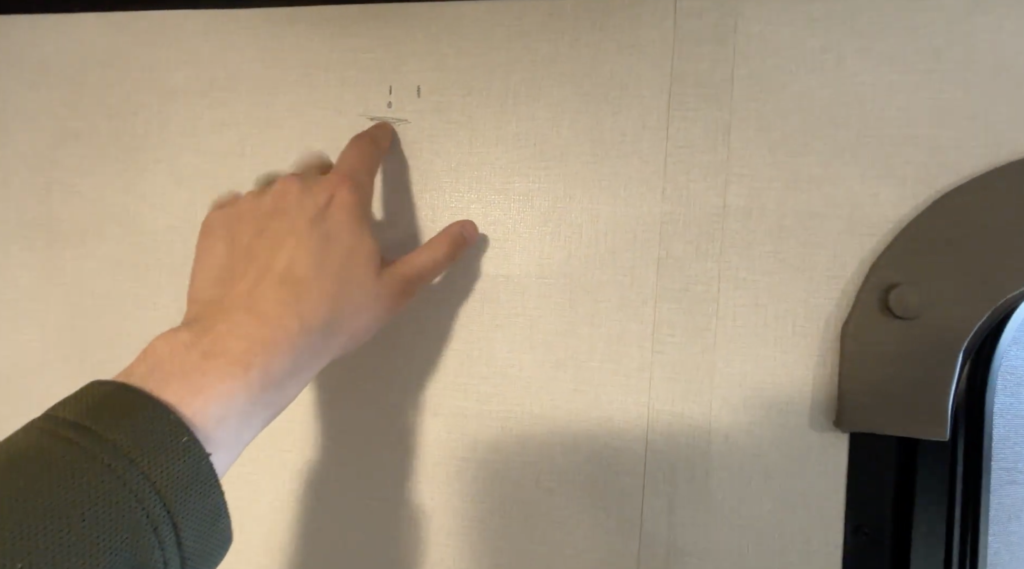
Once you have your spot, feel the wall for the backing plate. You should be able to feel the solid surface behind the wall where the TV backer is. Confirm it with a stud finder.
Measuring and Marking
Here is the measuring process that worked for me:
First, mark the horizontal center of where you want the TV. Then mark a rough line for the top of the TV so you know the upper boundary of your space.
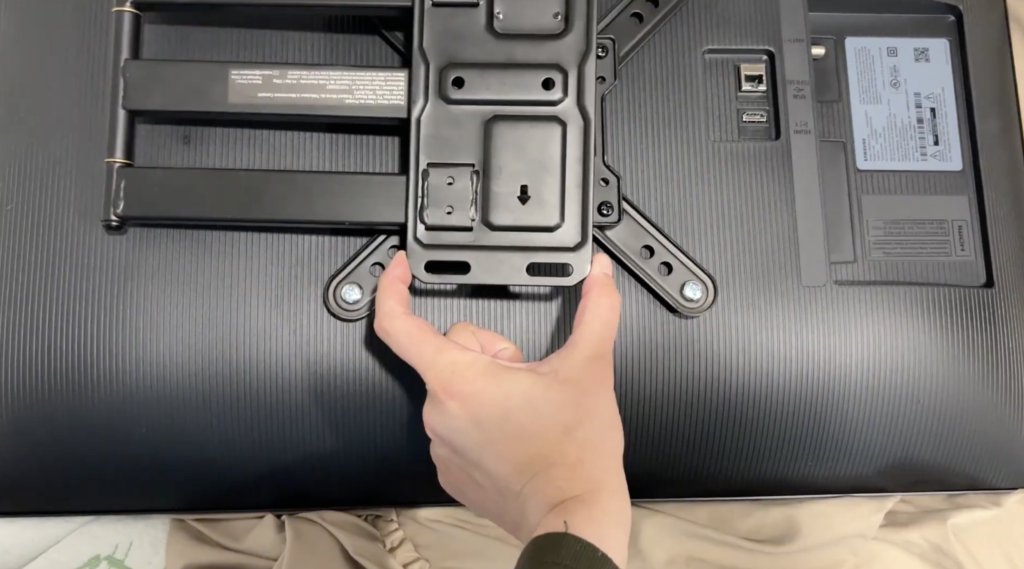
Next, attach the mount bracket to the back of the TV. Measure the distance from the top of the TV down to where the actual bolt holes on the bracket sit. On my setup, the bracket was 4 inches wide and the center of the holes was about 2.5 inches in from each edge.
Use those measurements to transfer your bolt hole locations to the wall. Hold the mount up to verify before you drill anything.
The Most Important Step: Controlling Your Drill Depth
This is the part that will save your wall. RV walls are thin. If you drill without a depth limiter, you will go straight through.
Take a piece of tape and wrap it around your drill bit at the depth you want to stop. That tape flag tells you exactly when to pull back. Do not skip this step.
I used the larger bolts at the top of the mount for the main structural hold and added a couple of smaller screws lower down for additional support. The top bolts carry the weight, the lower screws keep it from shifting.
Getting It Level
Here is the honest part: getting a TV perfectly level in a travel trailer is a bit of a moving target. The trailer needs to be level at your site, the mount needs to be level, and then the swivel position itself changes the apparent angle slightly.
The mount I used includes a built-in level, which helps a lot during install. But between the camper site level and whether the arm is extended or pushed back against the wall, you just have to pick your tolerance and go with it. It looks great at our site and that is what matters.
Products Used
I used this swivel TV mount and this 32″ TV for the install. You can find the rest of the gear on our Coleman 17B Amazon list. As an Amazon Associate, I earn from qualifying purchases.

Coleman 17B TV Mount FAQs
What size TV fits in a Coleman 17B?
A 32-inch TV fits in the main living area of the Coleman 17B, though the space next to the overhead cabinet is tight. The TV will clear the cabinet but you may need to angle the swivel mount slightly when opening the cabinet door. A 24 to 32-inch range is the practical window for this space. This is the exact 32″ TV I used.
Do the screws that come with an RV TV mount work in a travel trailer?
Usually not. The screws included with most TV mounts are sized for home walls and are too long for the thinner walls of a travel trailer. For the Coleman 17B, 1/4 inch by 1.5 inch bolts from any hardware store are a good replacement. Always confirm your drill depth before you start.
Do I need a stud to mount a TV in my Coleman 17B?
Yes. The 17B has a TV backer built into the wall in the main living area. You can feel it by pressing on the wall and confirm it with a stud finder. Mount into that backer, not into open wall space.
How do I keep my TV level in a travel trailer?
Start with a leveled trailer at your campsite. Use a level during the install, and if your mount includes a built-in level, use that too. Some variation in apparent levelness is normal depending on whether the swivel arm is extended or pushed back. Pick a position that looks right to your eye and secure it there.
Should I use a swivel mount or a fixed mount in a travel trailer?
A swivel mount is worth it in a small trailer like the 17B because it lets the TV serve multiple viewing areas without repositioning furniture. For travel, push the arm flat against the wall. If your mount does not lock, use a bungee or strap to hold it in position while driving. This is the swivel mount I installed.
How do I avoid drilling through the wall of my RV?
Wrap a piece of tape around your drill bit at the target depth before you start. That tape flag shows you exactly when to stop. RV walls are thin and there is not much margin for error, so this step is not optional.
What are the best upgrades for a Coleman 17B?
A swivel TV mount is one of the first upgrades worth doing, especially if you camp with kids. Other popular 17B upgrades include a mattress upgrade, stabilizer jacks, and a keyless entry lock. We document our upgrades as we go, so check back on the Trail Notes page for more.
Final Thoughts
We got to use it for the first time on our trip to Fontana Park in Hazleton, Iowa, and a rainy day at the campsite is a totally different situation when you have a real 32-inch TV on a swivel mount instead of a tiny screen. The key things to remember: replace the stock screws, use a tape flag on your drill bit, and mount it into the backing plate.
If you have questions about the install or want to see what gear I used, the full product list is on our Coleman 17B Amazon list.
For more 17B upgrades and honest trip reports from the Midwest, subscribe to Aaron Goes Outdoors on YouTube.