How to Check Your Coleman 17B for Water Leaks With a Pinless Moisture Meter
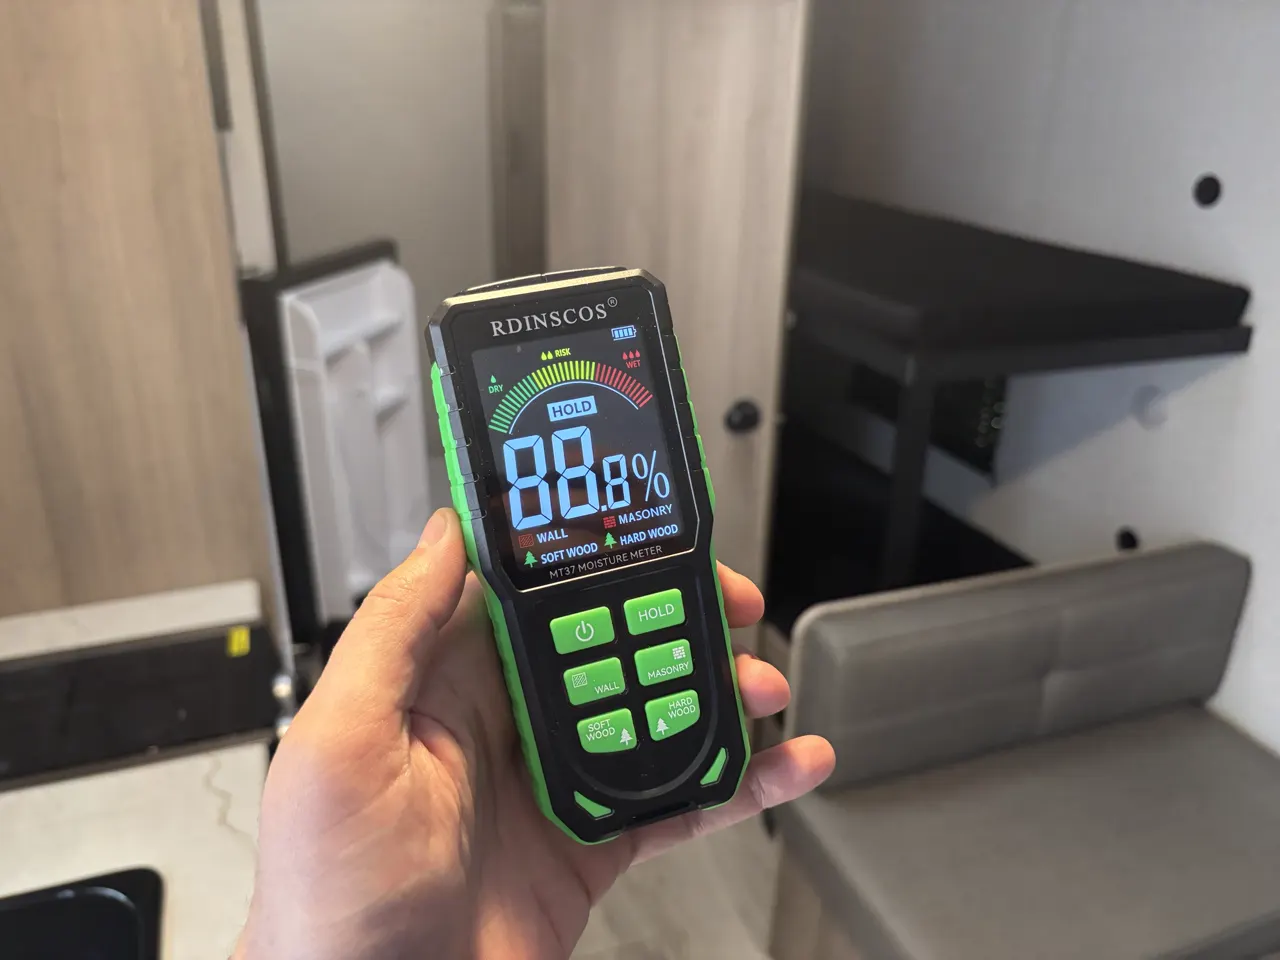
Water is the one thing that can quietly ruin a camper. By the time you see a stain or a soft spot, it has usually been getting in for a while. In our first year with the 2025 Coleman 17B, we found three real leak spots: a skylight, a seam in the bathroom, and the AC dripping inside. A pinless moisture meter is how you catch that kind of thing early, without poking a single hole in your walls.
This post contains Amazon affiliate links. As an Amazon Associate, I earn from qualifying purchases at no extra cost to you. I only link gear I've personally bought and used. Everything I mention is in our Amazon storefront.
In this post
- Why a pinless moisture meter
- The meter we use
- How to read a moisture meter
- Where to check on a Coleman 17B
- When to check
- What to do if you find a high reading
- Moisture meter FAQs
Watch the leaks we found
A dedicated moisture meter video is coming. Until then, our one-year review shows the leak spots this post is built around.
Aaron Goes Outdoors walks the 2025 Coleman 17B after a year of camping, including the skylight leak and the AC drip.
▶ See the skylight leak in the video
▶ See the early bathroom leak in our six-month review
Why a pinless moisture meter
There are two kinds of moisture meters. Pin meters push two small metal prongs into the material to take a reading. Pinless meters sit flat against the surface and read what is behind it.
On a camper, pinless is the way to go. You can scan walls, ceilings, floors, and cabinets without leaving holes in the paneling, and you can cover a lot of area fast. That matters, because water rarely shows up right where it gets in. It runs along a seam or down the inside of a wall and shows up somewhere else.
The meter we use
We use this RDINSCOS pinless moisture meter, the MT37, which is the one in the photo at the top of this post. It is rechargeable, has a color display that is easy to read in a dim camper, and an audible alarm, so you can sweep a wall and let it beep at you instead of staring at the screen.
Two things we like about it for a camper. The screen has a simple dry, risk, and wet scale, so you get a quick read without decoding numbers. And it has separate modes for wall, masonry, soft wood, and hard wood, so you can match the setting to what you are scanning.
You do not need a fancy one. What you want is a pinless meter that is easy to read and lets you move it around quickly.
How to read a moisture meter
This is the part most people get wrong. The number on the screen matters less than how it compares to the area around it.
- Take a baseline. Hold the meter on a spot you know is dry, on the same kind of surface you are about to check. Note the reading.
- Sweep the suspect area. Move the meter slowly across the wall or ceiling around the spot you are checking.
- Look for jumps. A reading that climbs well above your baseline, especially one that gets higher as you move toward a seam, window, or vent, is worth a closer look.
- Set the right mode. Different meters use different scales and material settings. On ours, pick the mode that matches the surface, and check the manual if you are not sure which fits.
The point is not to get a perfect number. It is to find the spot that reads different from everything around it.
Where to check on a Coleman 17B
These are the spots worth scanning on a 17B, starting with the ones that actually leaked on ours.
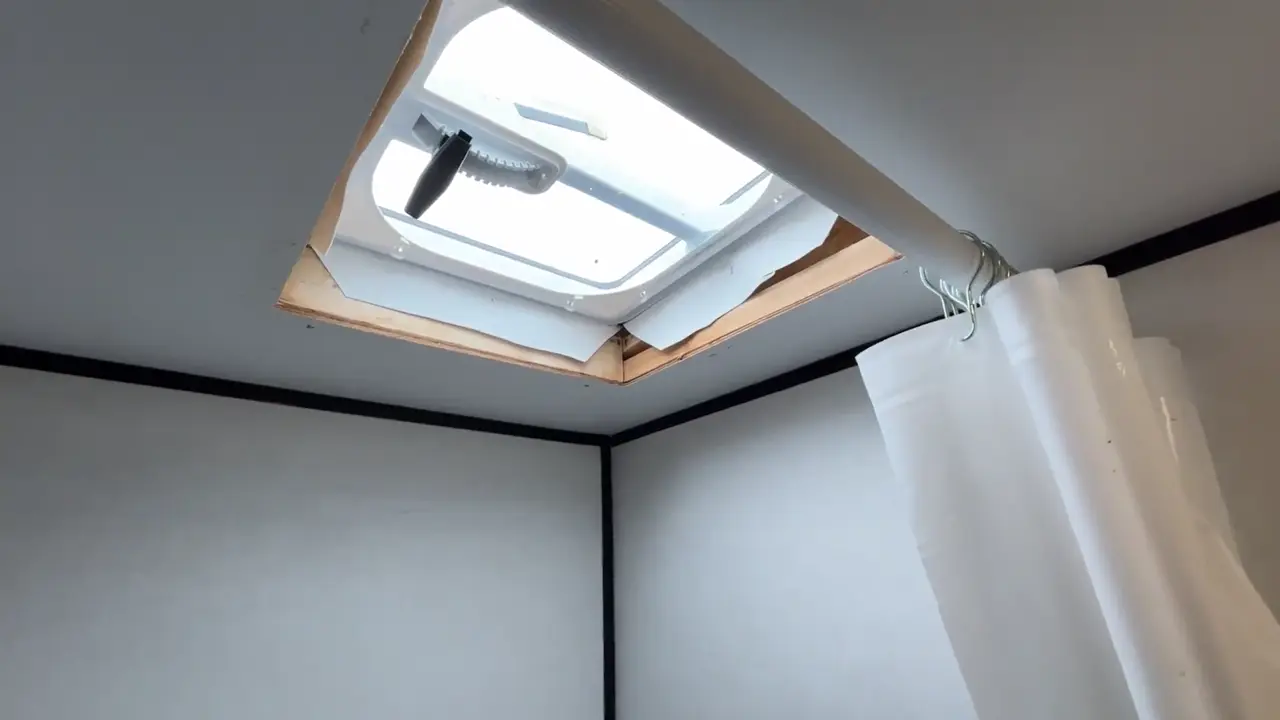
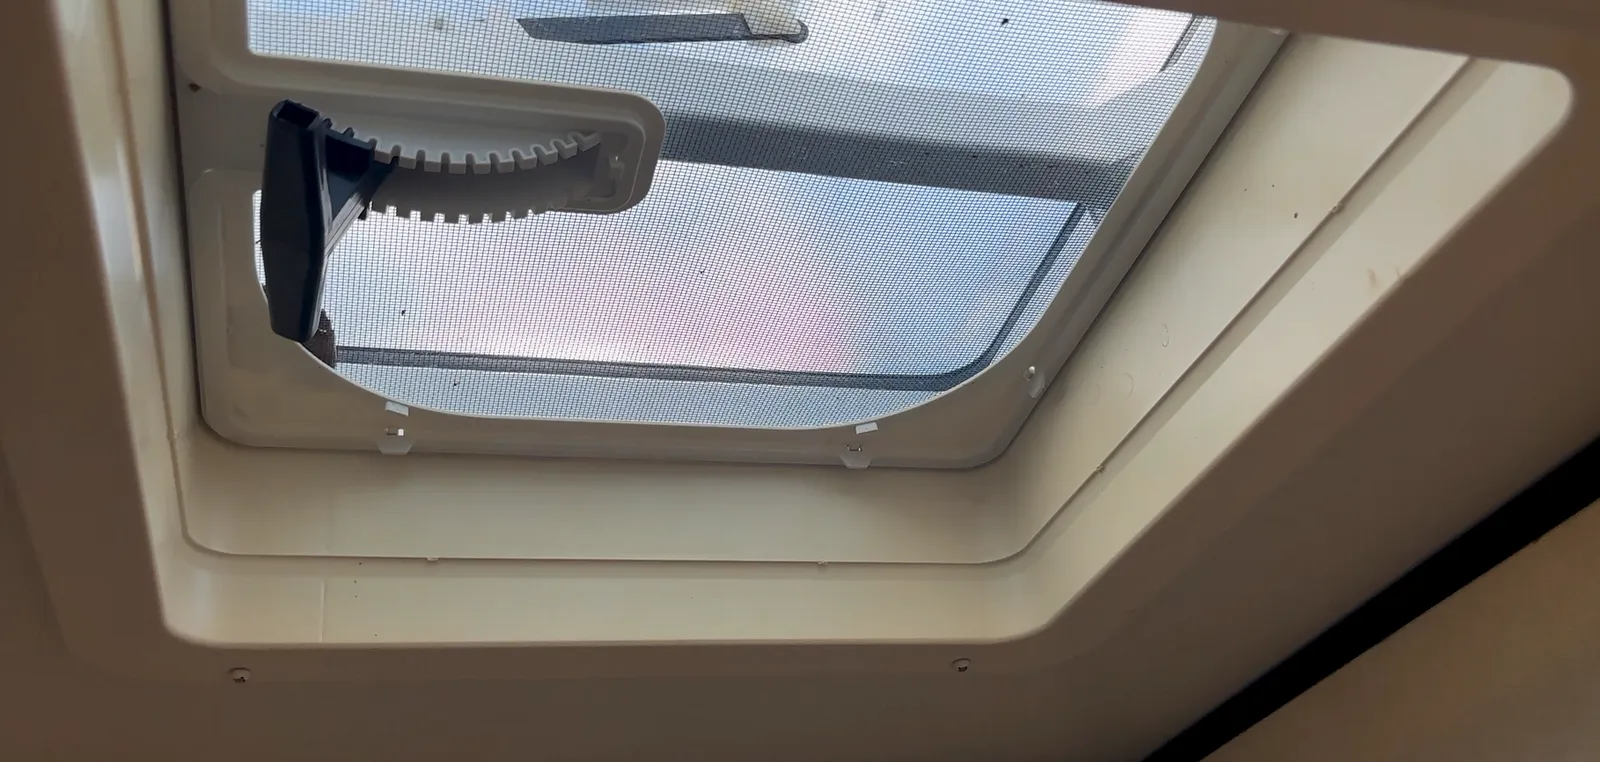
- Skylights and roof vents. Our main skylight leaked at the exterior sealant. Scan the ceiling all the way around every skylight and roof vent, not just right at the edge.
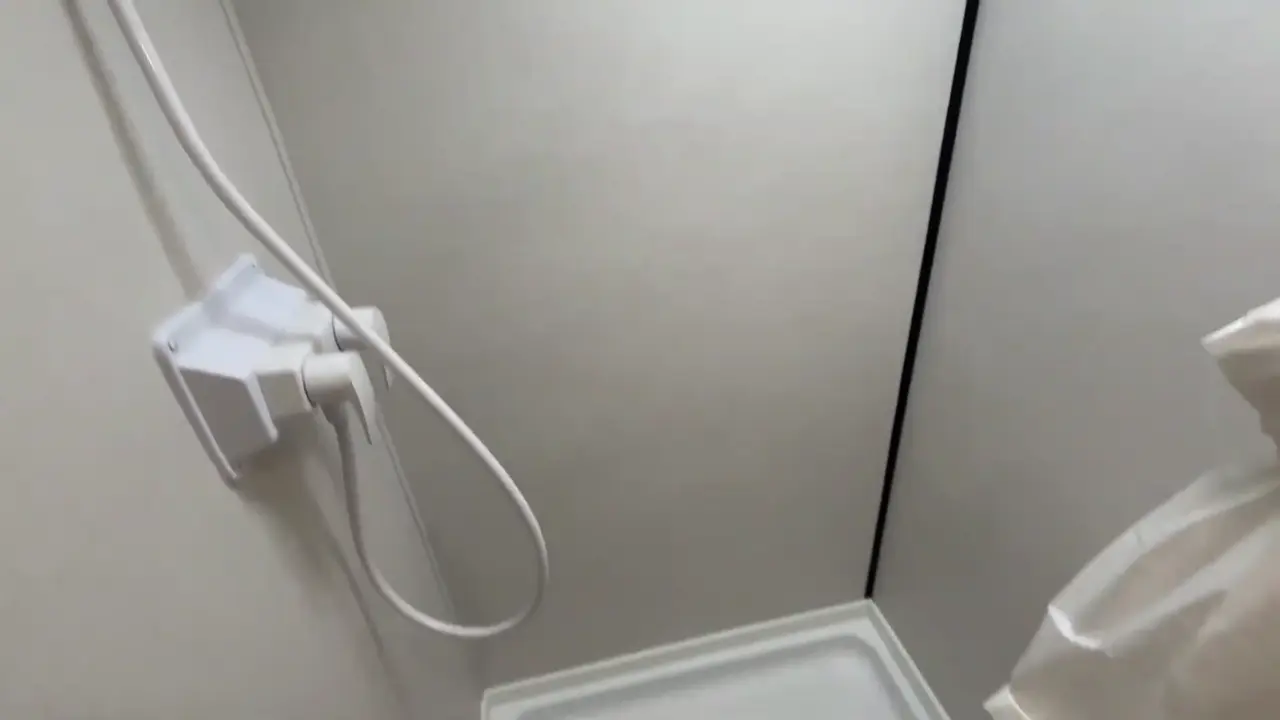
- The bathroom vent and shower area. We had a small leak show up early in the bathroom, which is why one of the trim covers was off in our six-month video. Scan the bathroom ceiling around the vent and the walls along the shower seams.
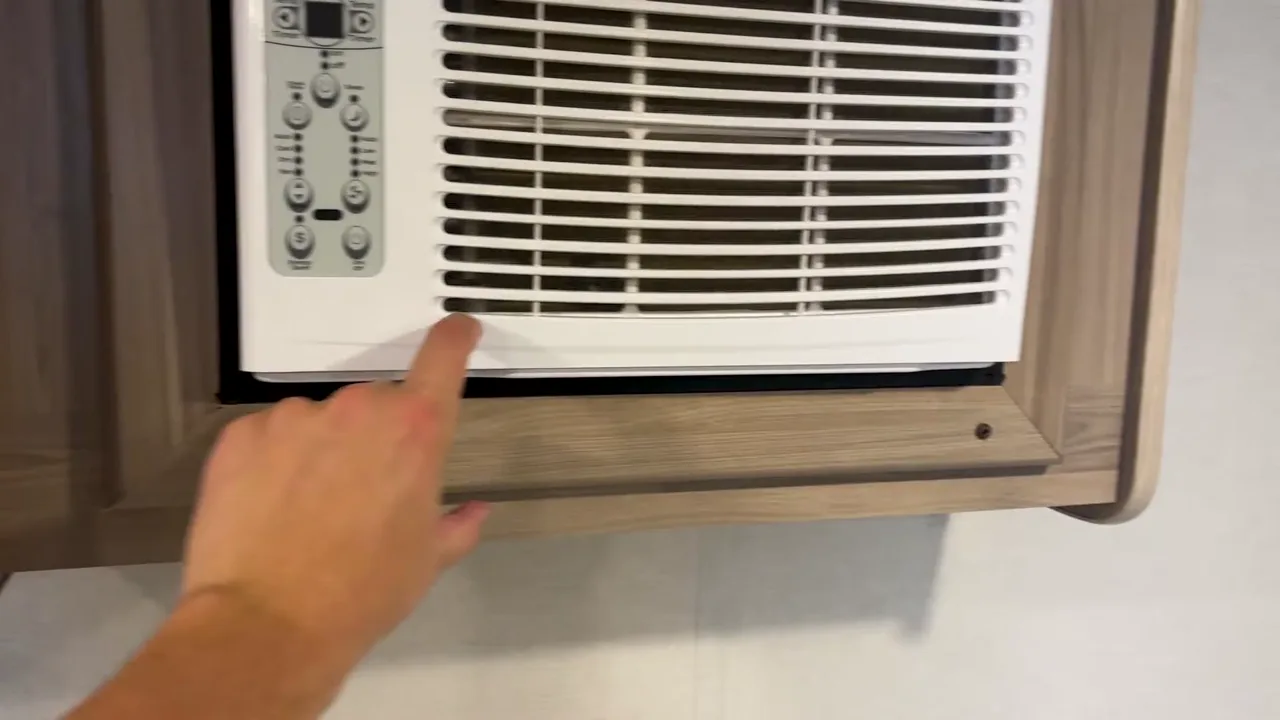
- The wall around the AC unit. The 17B uses a wall-mounted AC unit, and if the camper is not angled right it can drip inside. Scan the wall and cabinet below it. More on that in our Coleman 17B AC dripping post.
- Window corners. Check the bottom corners of every window, where water tends to sit and work its way in.
- The front and rear corners. Scan high and low in each corner of the camper, where the walls meet the roof and the front and rear caps.
- Around the entry door. Check the wall around the door frame and the floor just inside it.
- Under the kitchen sink and near water lines. Not every leak comes from outside. Check under the sink and around the water heater access and the city water inlet.
- Inside storage compartments. Check the floor and walls inside the pass-through storage, where you might not look for weeks at a time.
When to check
A quick sweep only takes a few minutes, so it is easy to make it a habit. Good times to check:
- Before you buy a used camper. A moisture meter is one of the best tools to bring to a showing. Hidden water damage is the most expensive thing you can miss.
- At the start and end of every camping season.
- After a big storm or a lot of rain.
- After any roof or sealant work, to make sure the fix held.
- Before you put it into storage, so you are not finding a problem in the spring.
What to do if you find a high reading
- Recheck it. Take the reading again and compare it to a dry spot nearby, so you know it is real.
- Look up and out. Water usually travels down, so the source is often above where the meter reads high. Head outside and look at the sealant on the roof, around windows, and on any trim above that spot.
- Reseal the source. For roof seams and around vents, we keep Dicor self-leveling lap sealant for flat surfaces and Dicor non-leveling lap sealant for vertical edges. That is how I resealed our skylight.
- Let it dry and check again. Give it a few dry days, then scan the same spot. The reading should come back down toward your baseline. If it does not, keep looking for the source.
If a spot reads high and the wall or floor feels soft, that is past a sealant fix. Get it looked at before it spreads.
Moisture meter FAQs
How do you check a camper for water leaks?
Use a pinless moisture meter to scan the walls, ceiling, and floor around every skylight, vent, window, corner, and door. Compare each reading to a known dry spot. Anything that reads well above it is worth tracking down.
Is a pinless or pin moisture meter better for an RV?
Pinless is better for most RV checks. It reads through the surface without leaving holes in your walls, and it lets you scan a large area quickly.
Where do Coleman 17B campers usually leak?
On ours, the leak spots were a skylight at the exterior sealant, a small leak in the bathroom early on, and the AC dripping inside when the camper was not angled right. Windows, corners, and the entry door are also worth checking.
What moisture meter reading is too high in a camper?
It depends on the meter and the material, so check your meter’s manual. The most useful approach is comparing: a reading that is well above a dry spot on the same surface is the one to investigate.
Should I bring a moisture meter when buying a used camper?
Yes. It is one of the best tools to bring to a showing. Hidden water damage is expensive to fix, and a few minutes of scanning can save you from buying a problem.
Final thoughts
A pinless moisture meter is one of the cheapest pieces of insurance you can buy for a camper. You do not need to be an expert to use one. Take a baseline, sweep the spots that tend to leak, and track down anything that reads high. Catch it early and it is a tube of sealant. Catch it late and it is a rebuilt wall.
We will add our full moisture meter video here once it is filmed. For the long-term take on the camper, read our one-year Coleman 17B review, and for the upgrades that made the biggest difference, see the top 10 things we bought for our Coleman 17B. Everything we use is in our Coleman 17B gear and upgrade list.
Want to try a 17B before you buy one? You can rent ours here in Cedar Falls. For more 17B content, subscribe to Aaron Goes Outdoors on YouTube.